> ## Documentation Index
> Fetch the complete documentation index at: https://developer.novacpayment.com/llms.txt
> Use this file to discover all available pages before exploring further.
# Manage Teams
> Learn how to manage roles and permissions to securely add new team members to your Novac Dashboard.
## Overview
Roles in the Novac Dashboard help you define and manage the level of access each team member has to your business account.\
By creating custom roles, you can assign specific permissions based on responsibilities ensuring that only authorized users can perform sensitive actions such as initiating payouts, managing transactions, or viewing reports.
The Administrator role is automatically created for the business account owner and has full permissions by default.\
If you want to delegate specific responsibilities without granting full access, you can create a new role and assign only the permissions required for that team member’s tasks.
## Create a new Role
Follow the steps below to create a new role.
Sign in to your [Novac Dashboard](https://app.novacpayment.com) using your registered account credentials.
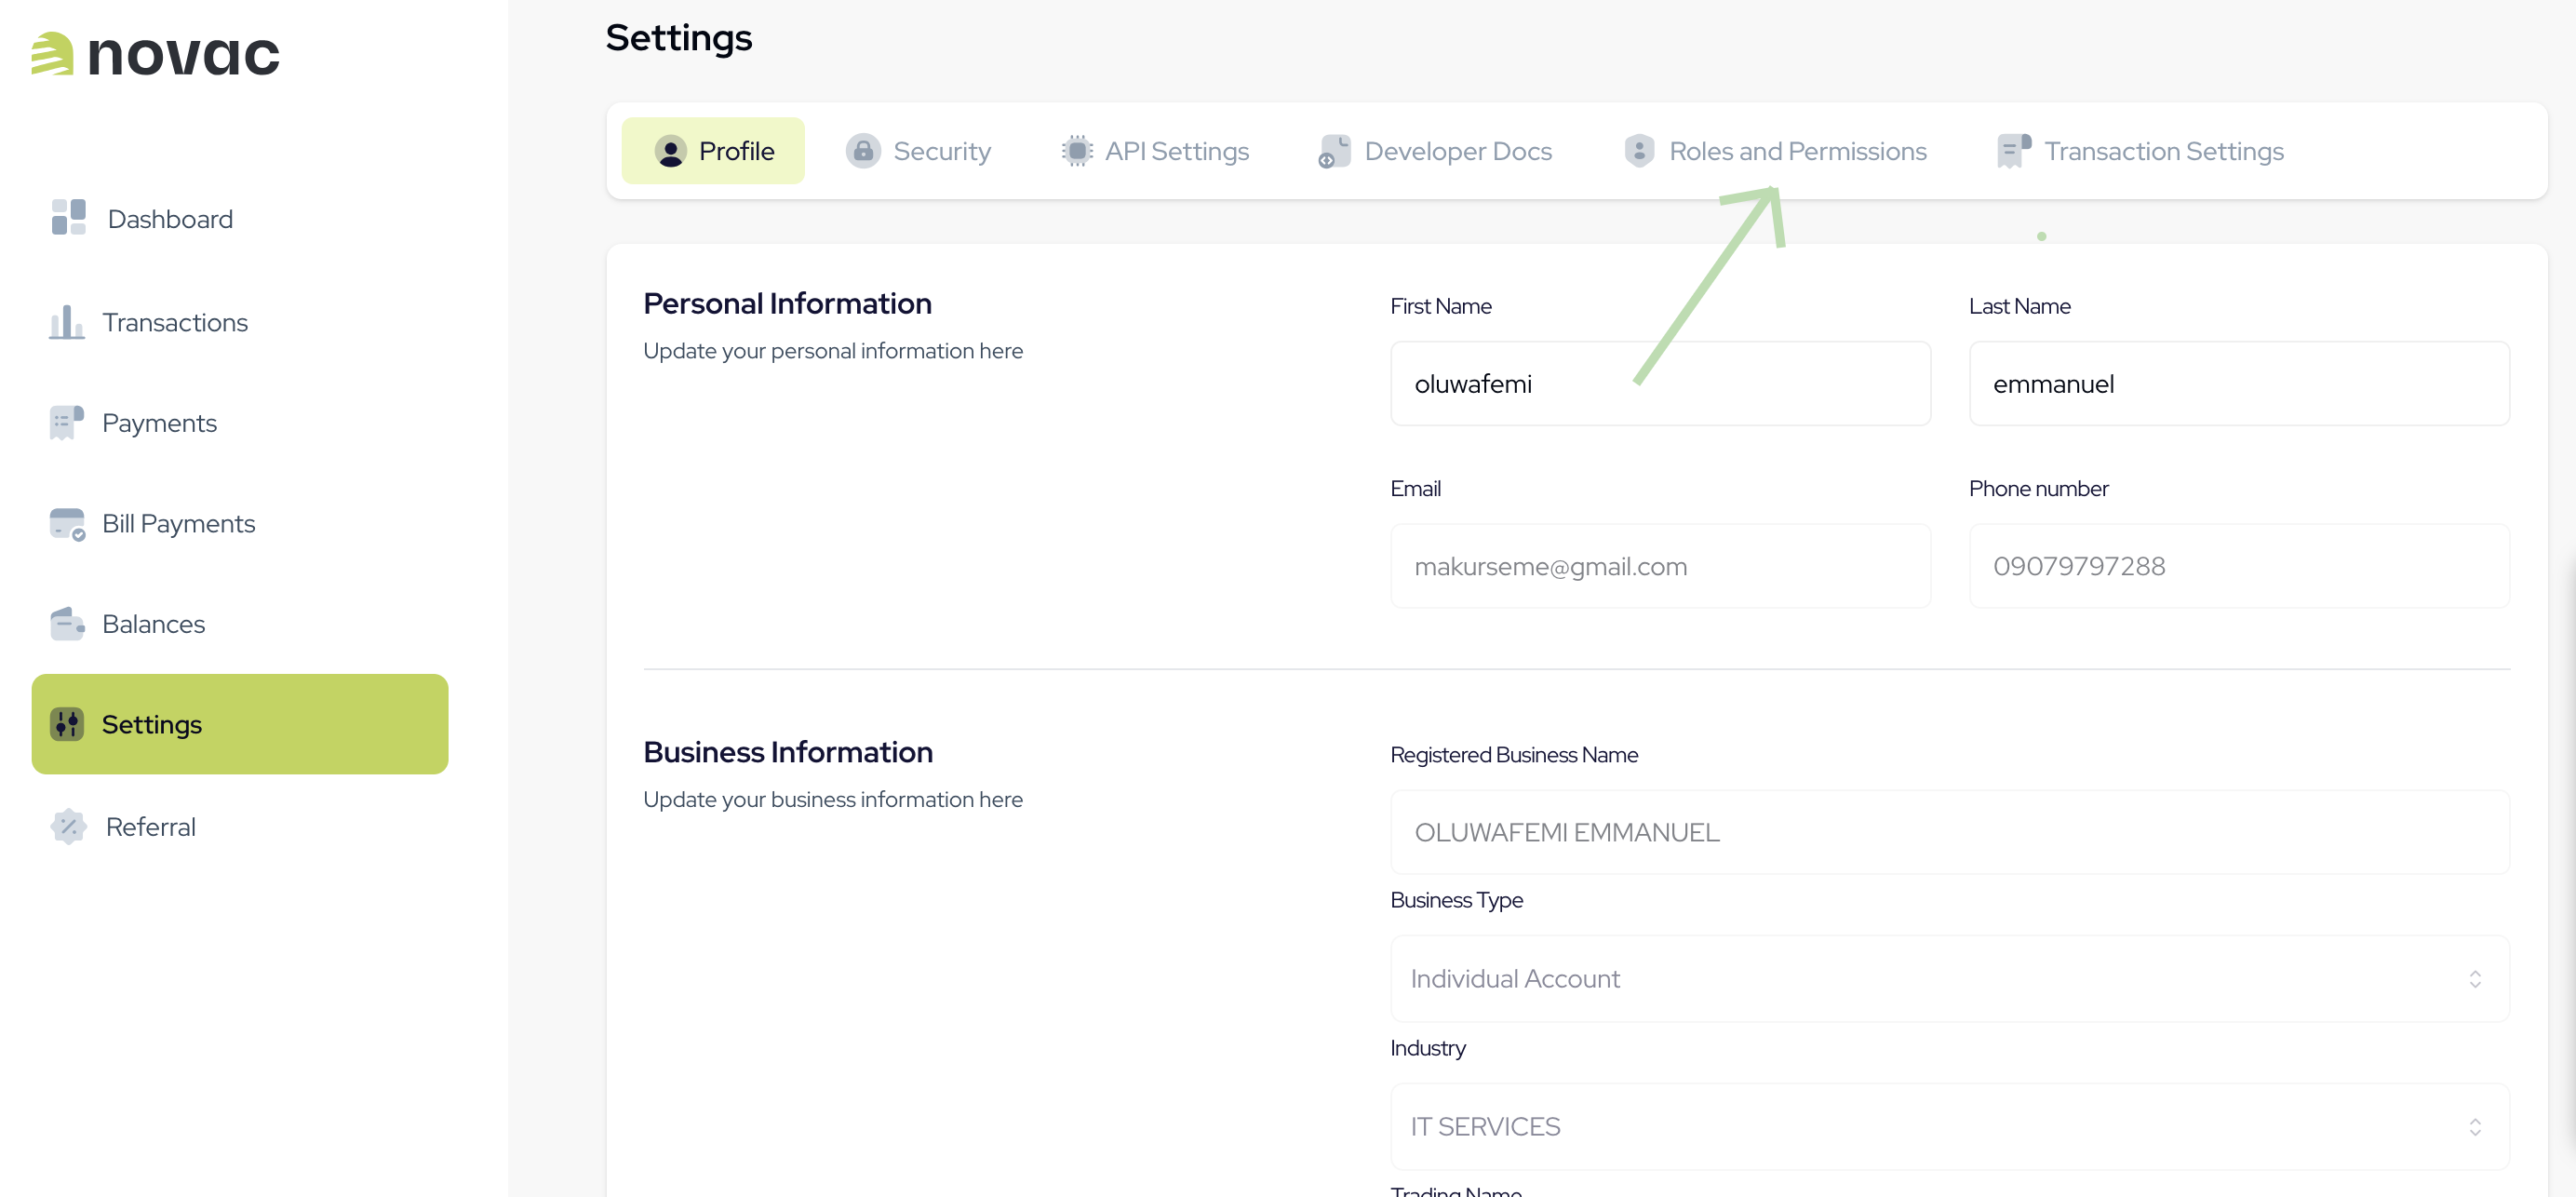
From the side menu, navigate to the Settings tab and click on "Roles and Permissions".
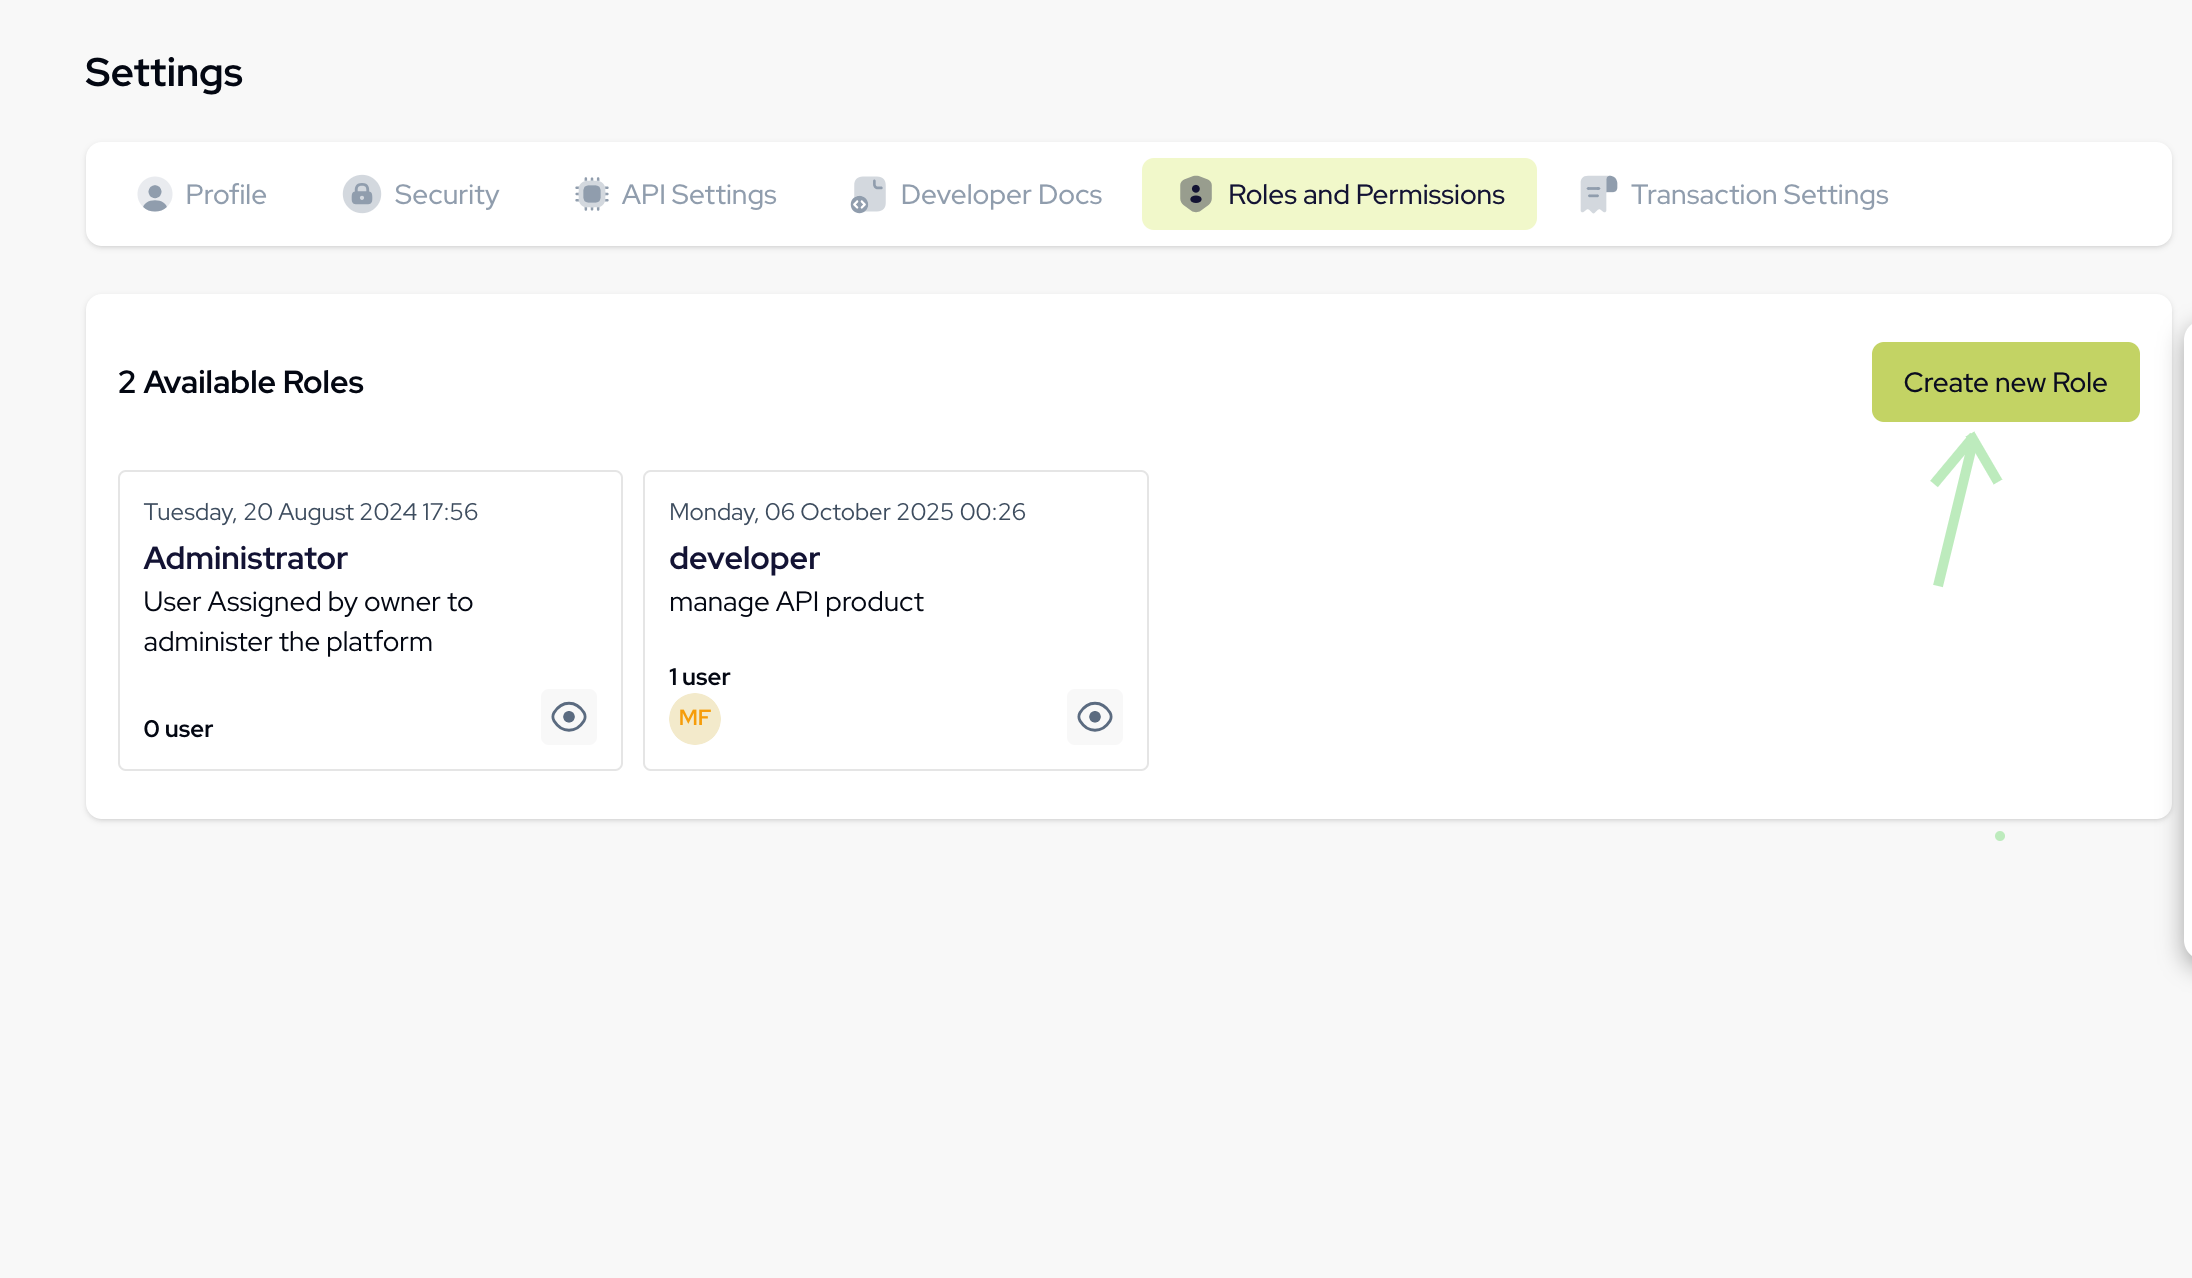
 By default, an "Administrator" role is automatically created for the business account owner.\
This role has full permissions and manages all account-level settings.\
To add a new role, proceed to the next step.
Click on "Create New Role" to begin creating a custom role for your team member.
By default, an "Administrator" role is automatically created for the business account owner.\
This role has full permissions and manages all account-level settings.\
To add a new role, proceed to the next step.
Click on "Create New Role" to begin creating a custom role for your team member.
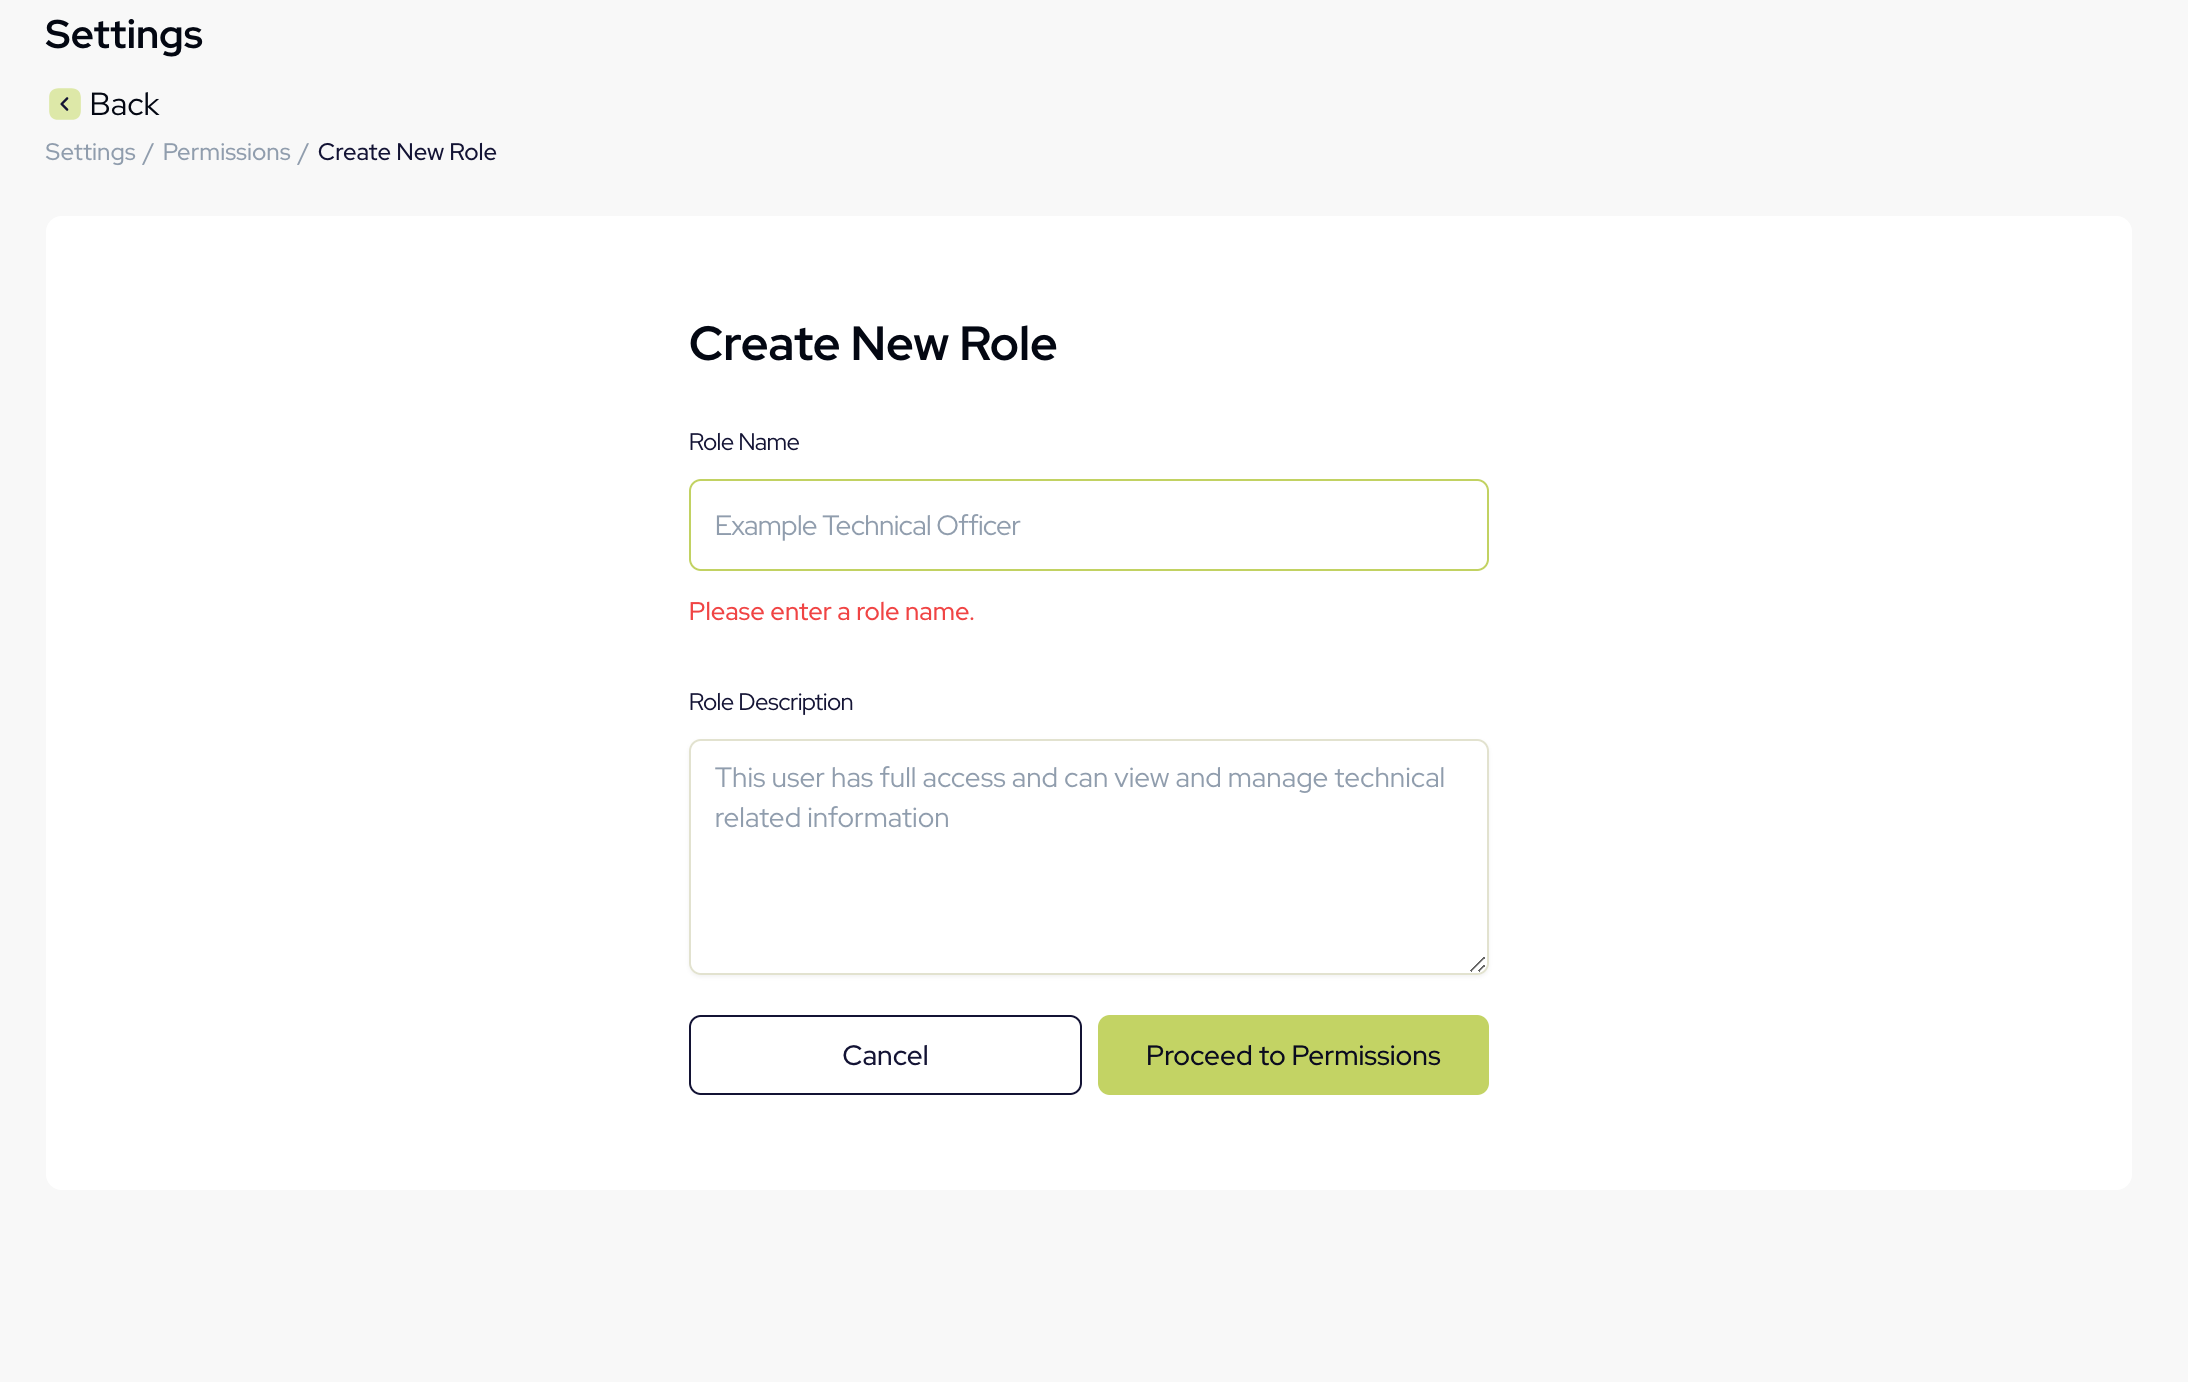
 You’ll be redirected to a page where you can enter the **Role Title** and **Description**.\
Once completed, click "Proceed to Permissions" to continue.
You’ll be redirected to a page where you can enter the **Role Title** and **Description**.\
Once completed, click "Proceed to Permissions" to continue.
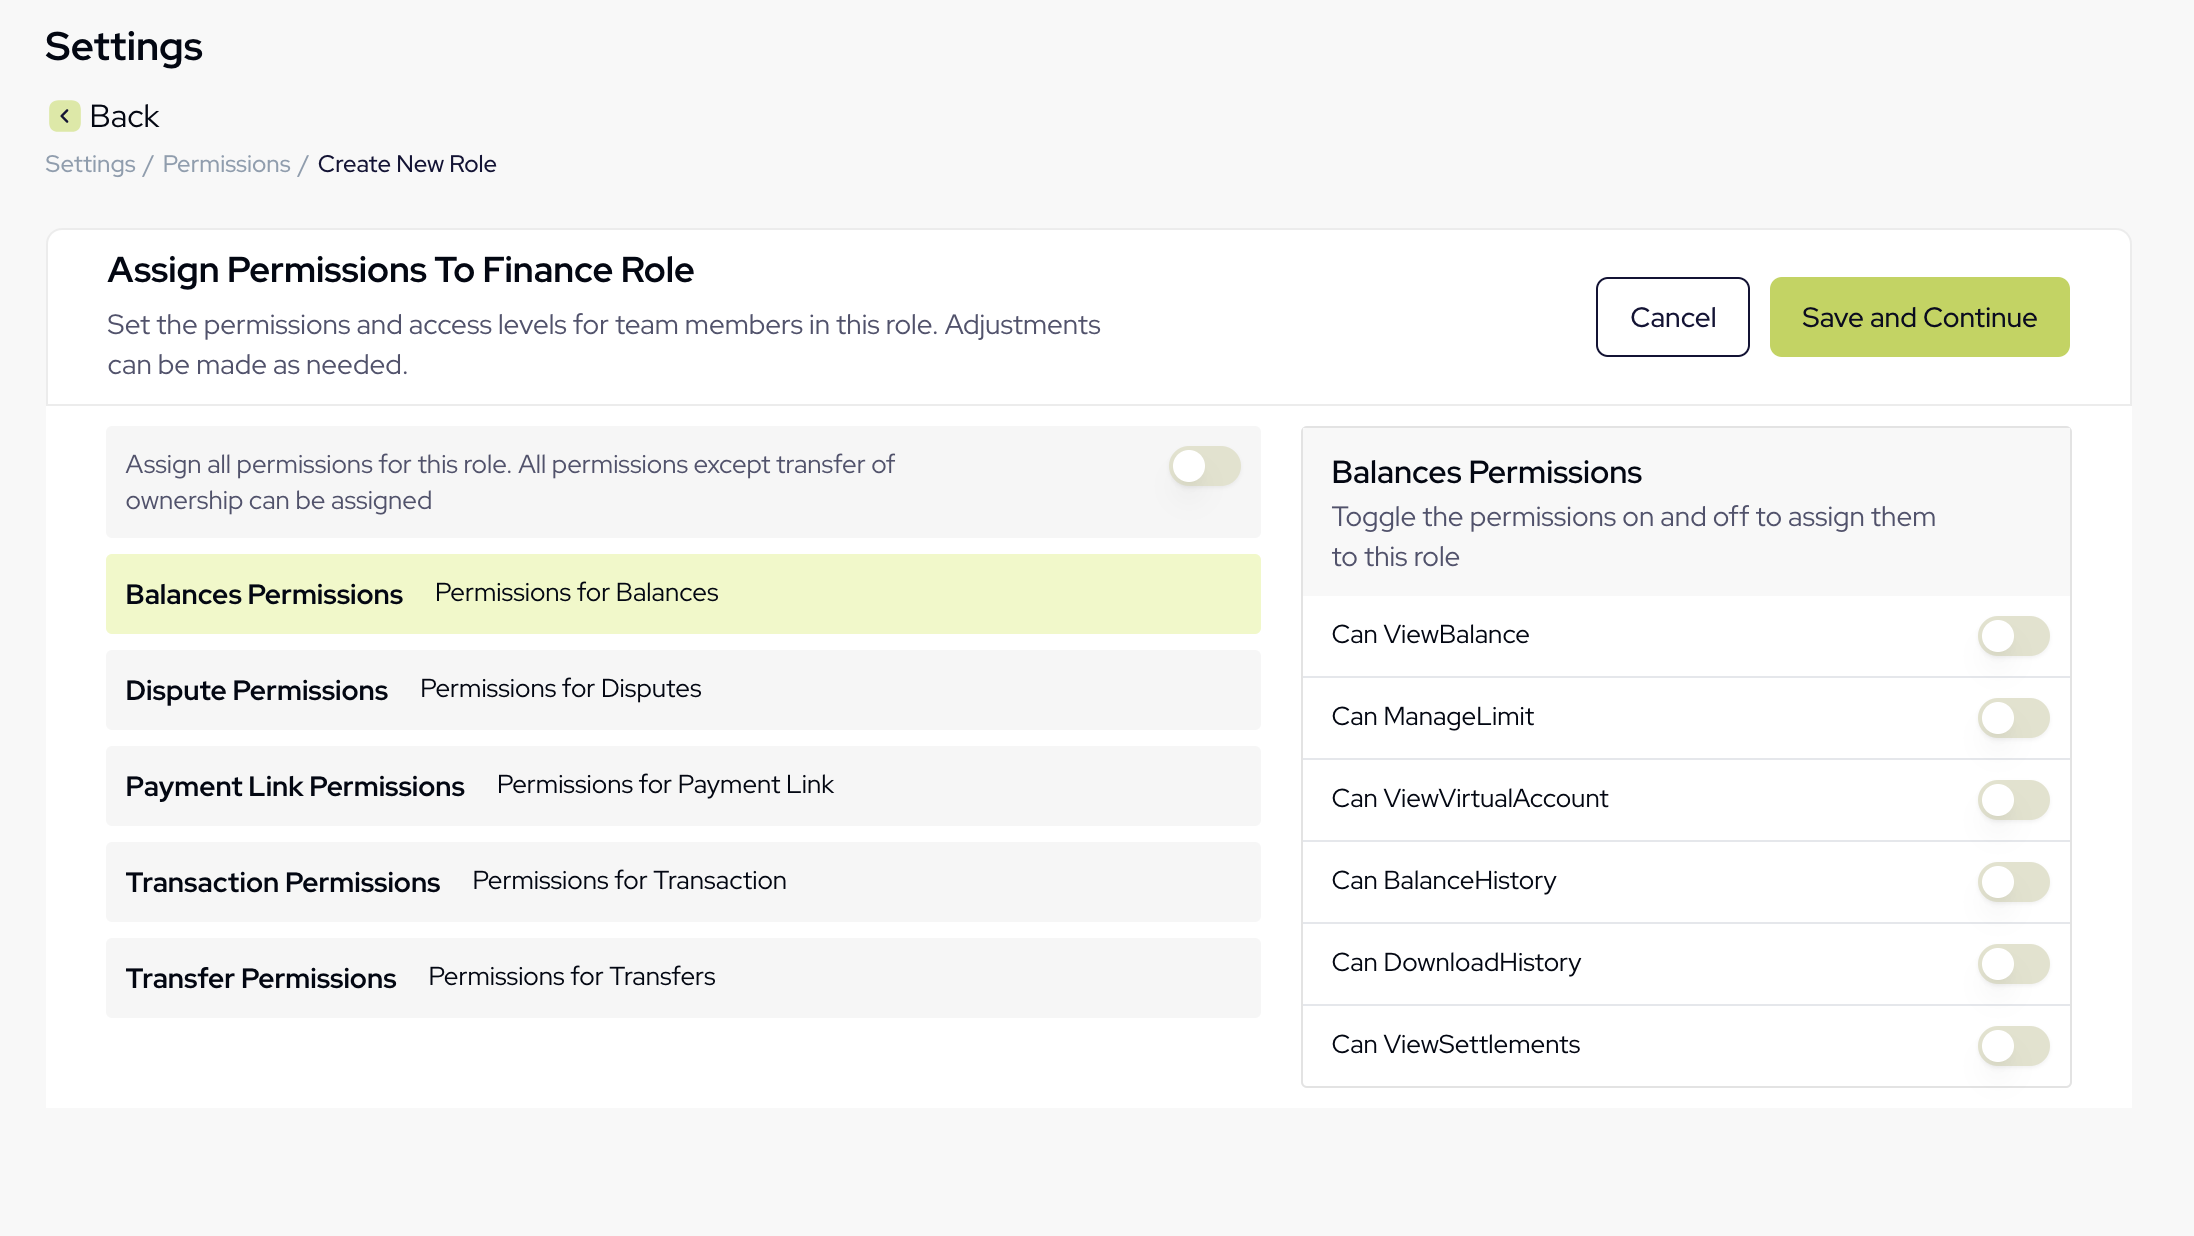
 On this page, select the specific permissions you want to assign to the new role.\
Carefully choose the permissions that align with the team member’s responsibilities.
On this page, select the specific permissions you want to assign to the new role.\
Carefully choose the permissions that align with the team member’s responsibilities.
 ## Invite a Team Member
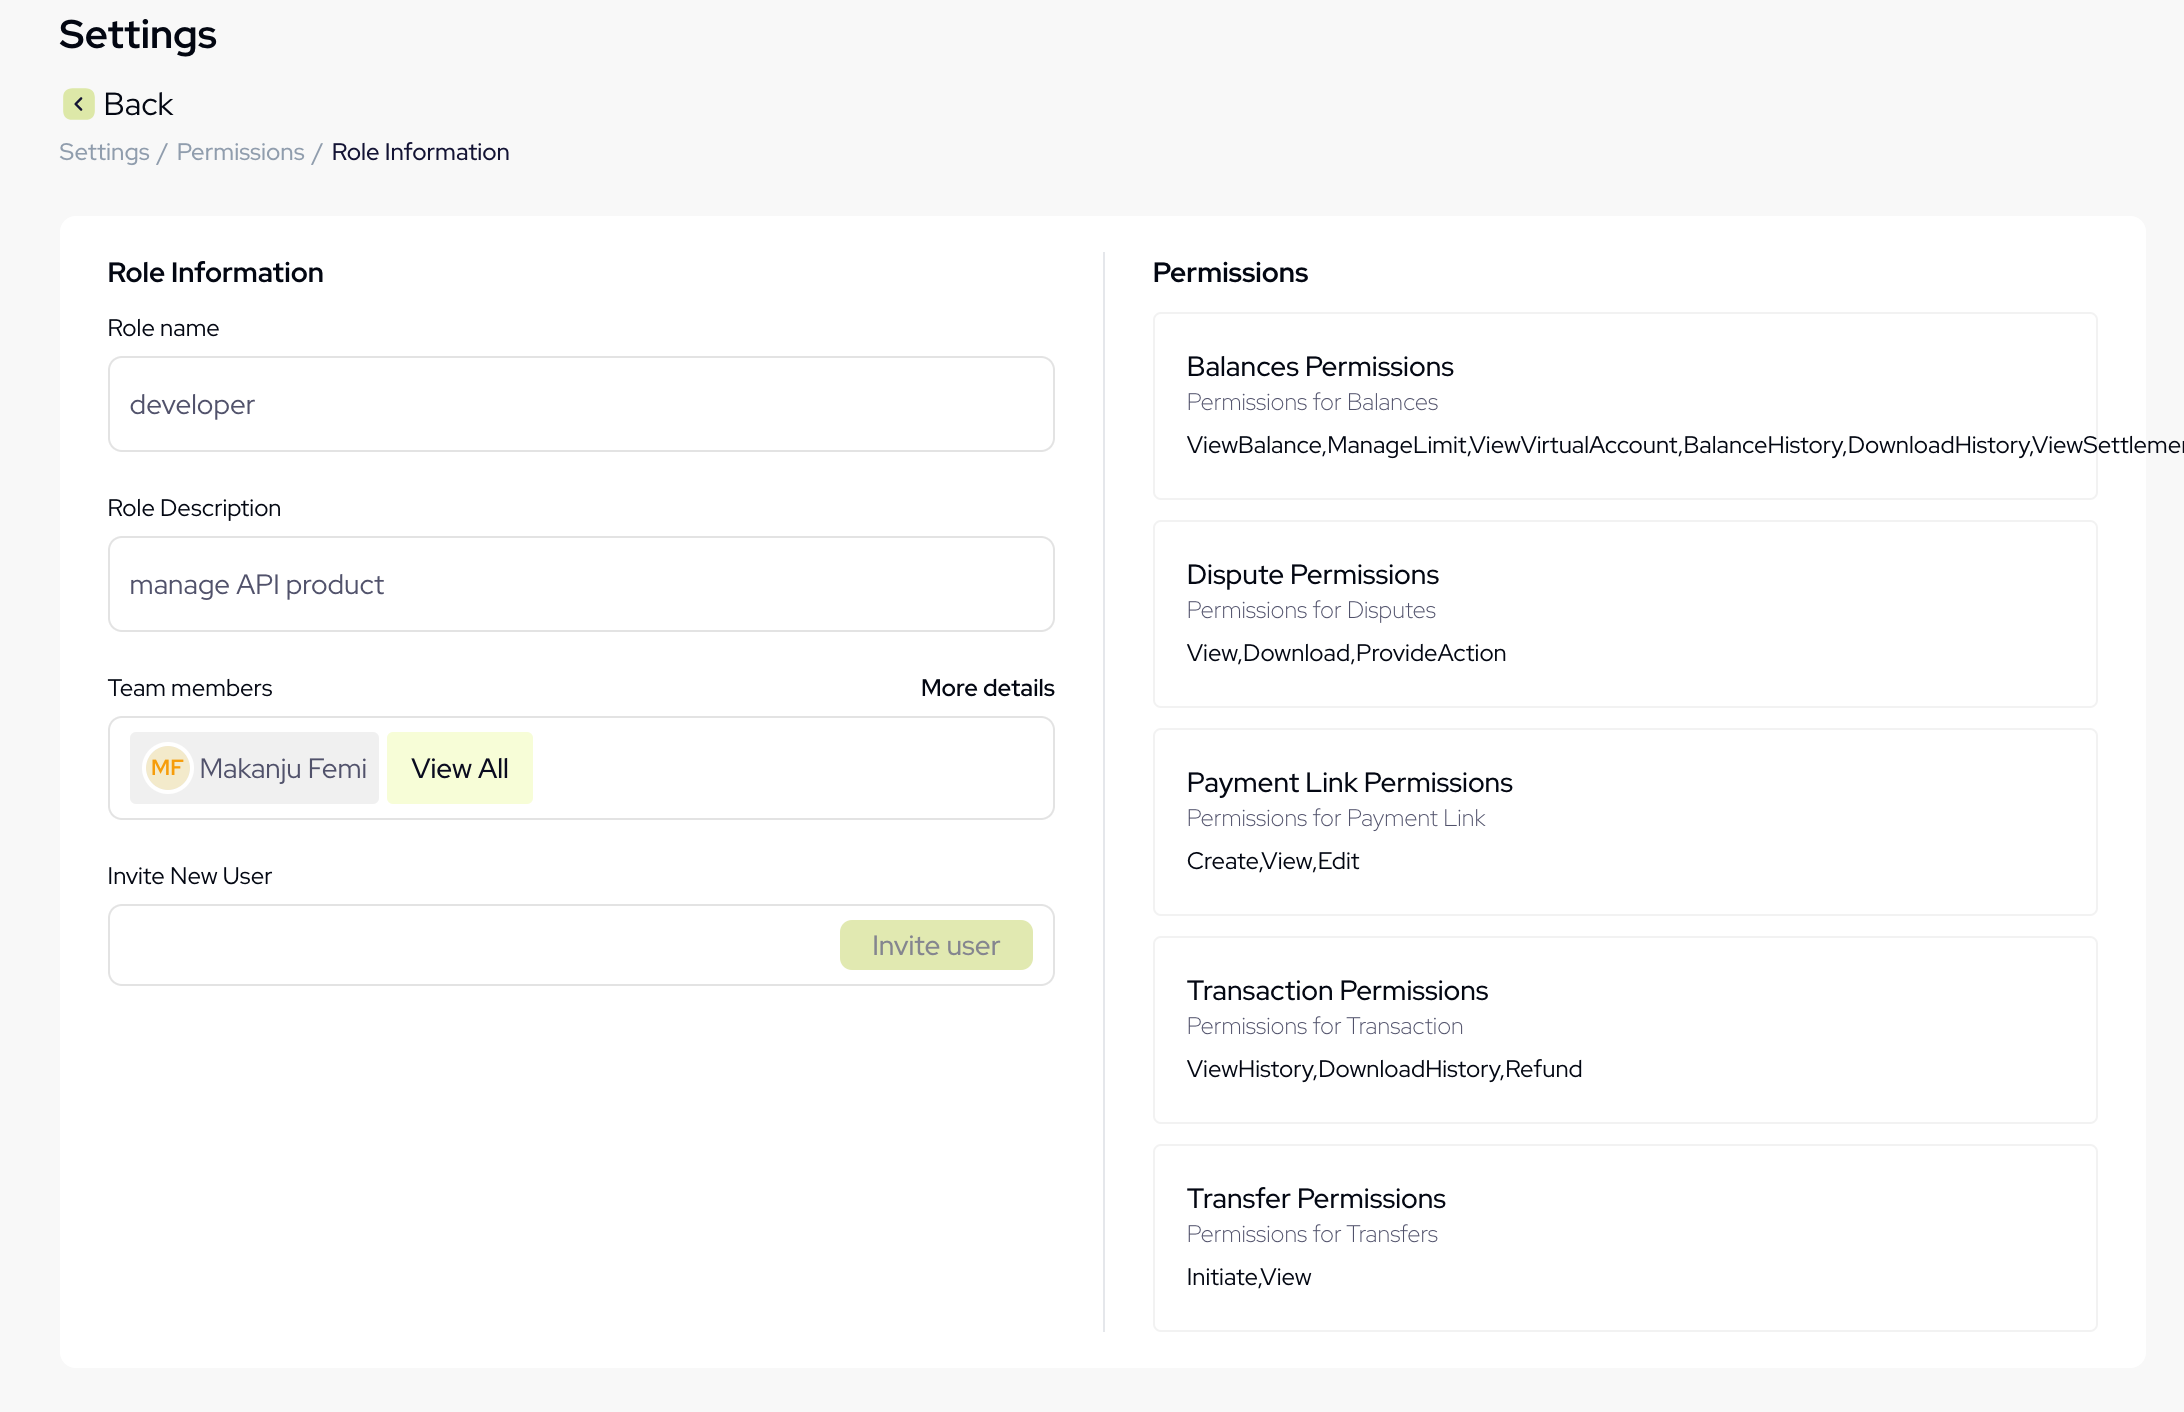
After successfully creating a team role, click to view the details to manage the role and see its associated permissions.
From this page, you can either invite a user via email to assign them to the role or remove an existing member as needed.
## Invite a Team Member
After successfully creating a team role, click to view the details to manage the role and see its associated permissions.
From this page, you can either invite a user via email to assign them to the role or remove an existing member as needed.